This post contains affiliate links. If you use these links to buy something, we may earn a commission.
We have all been there. You hit record, step up to the mic, and deliver the absolute best vocal take of your life. The emotion is perfect. The pitch is flawless. Then, you sit down at your computer to play it back… only to hear a delivery truck driving by, a neighbor’s dog barking, and a metallic room echo that makes you sound like you’re singing inside a public bathroom.
Recording clean, professional vocals at home is incredibly frustrating because standard bedrooms are acoustic nightmares. They are full of hard, parallel walls that bounce sound waves around, and thin windows that let every neighborhood noise leak straight into your microphone.
If you search online for solutions, you’ll immediately see studio experts telling you to spend $5,000 on fiberglass panels, floating floors, and heavy acoustic doors. But what if you are just starting out? What if you live in a rental apartment and have a budget of under $150?
The good news is that you don’t need a million-dollar studio to get radio-quality vocals. You just need to understand how sound waves behave. Here is the ultimate guide to soundproofing a room for recording vocals on a strict budget.
Step 1: Understand the Difference Between Soundproofing and Treatment
Before you spend a single dollar, we need to clear up the biggest misconception in home recording. When most beginners say they want to “soundproof” a room for vocals, they are actually talking about two completely different physical processes:
- Soundproofing (Isolation): This is the act of stopping outside noise (cars, roommates, AC units) from getting into your microphone. It requires mass, density, and airtight seals.
- Sound Absorption (Acoustic Treatment): This is the act of stopping your own voice from bouncing off the walls and creating an echo (reverb). It requires soft, porous materials.
To get a clean vocal take, you have to tackle both. Let’s start with keeping the outside world out.
Step 2: Seal The Air Gaps (The 1% Rule)
Sound travels like water. If there is a gap, it will find its way in. Audio engineers at Sound on Sound often note that a gap representing just 1% of a wall’s surface area can let in up to 50% of the sound.
Your biggest enemies are the gaps around your bedroom door and your windows. You don’t need a heavy solid-core door right now; you just need to seal the air leaks.
- The Door Sweep: Go to the hardware store and buy a cheap adhesive silicone door sweep. Stick it to the bottom of your bedroom door so it drags slightly against the floor. This instantly kills the high-frequency sounds (like people talking) coming from the hallway.
- Weatherstripping: Apply cheap foam weatherstripping tape around the interior frame of the door and windows. When you close the door, it should compress the foam, creating an airtight seal.
Step 3: Kill The Room Echo (The “Closet Hack”)
Now that the room is quiet, we need to stop your voice from bouncing. Hard drywall reflects vocal frequencies perfectly, creating a “flutter echo” that makes your recording sound cheap and distant.
Instead of buying expensive acoustic foam panels (which honestly don’t do much for low vocal frequencies anyway), use what you already have: clothes.
The legendary “Closet Vocal Booth” is the ultimate budget hack. By setting up your microphone inside a walk-in closet filled with hanging winter coats, sweaters, and jeans, you are essentially surrounding yourself with high-density acoustic absorbers. The heavy fabrics trap the sound waves of your voice before they can hit the drywall and bounce back into the mic, leaving you with a beautifully dry, crisp vocal take.
Step 4: The Moving Blanket Method
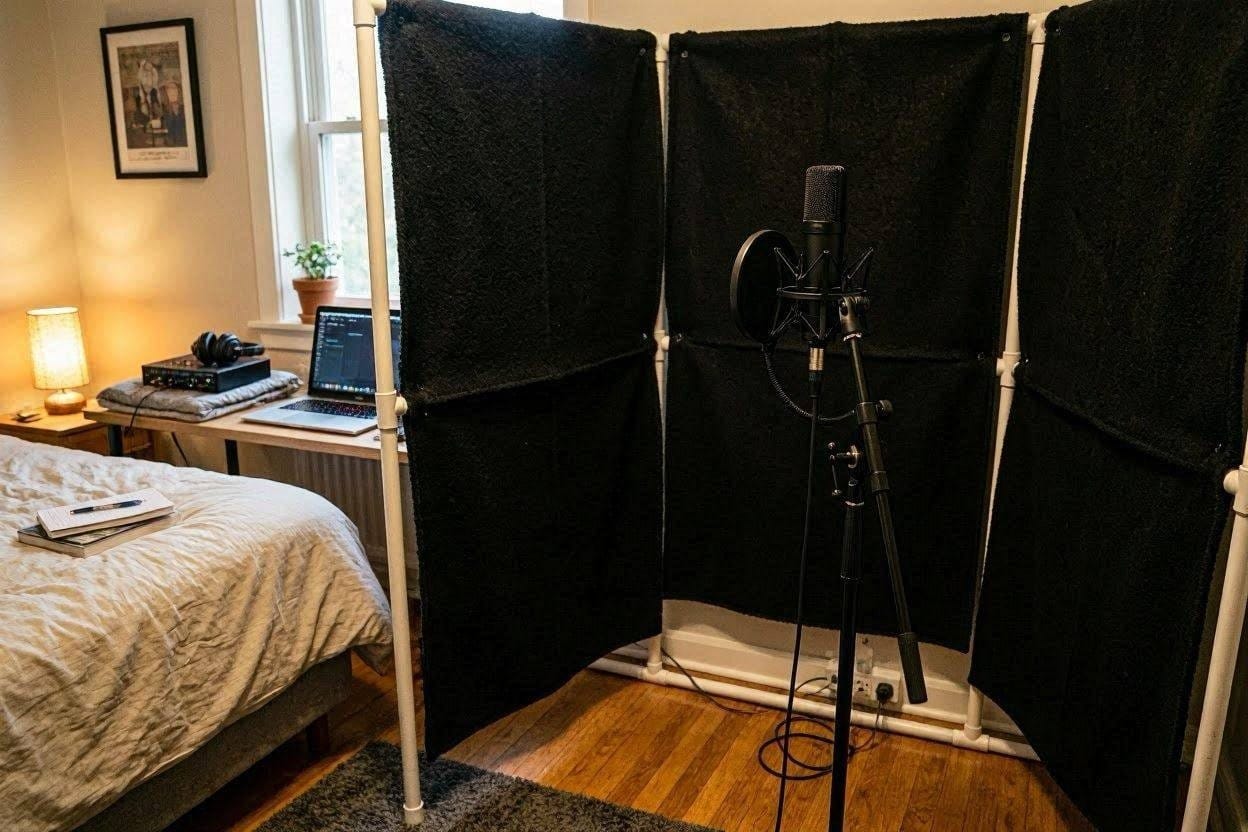
If you do not have a walk-in closet, your next best budget option is heavy-duty moving blankets. No, regular thin bed sheets will not work; they do not have the necessary mass.
You need thick, multi-layered industrial moving blankets. You can hang these on your walls using cheap command hooks, or drape them over a basic PVC pipe frame shaped like a “V” directly behind your microphone. Because microphones are most sensitive to sound bouncing off the wall behind the singer, placing a heavy blanket there kills the primary reflection point instantly.
Forget overpriced acoustic panels. These industrial, ultra-thick moving blankets weigh over 5 lbs each and are the absolute best budget hack for instantly deadening room echo and absorbing vocal reflections.Check the current price on Amazon ➔
Step 5: Isolate The Microphone Itself
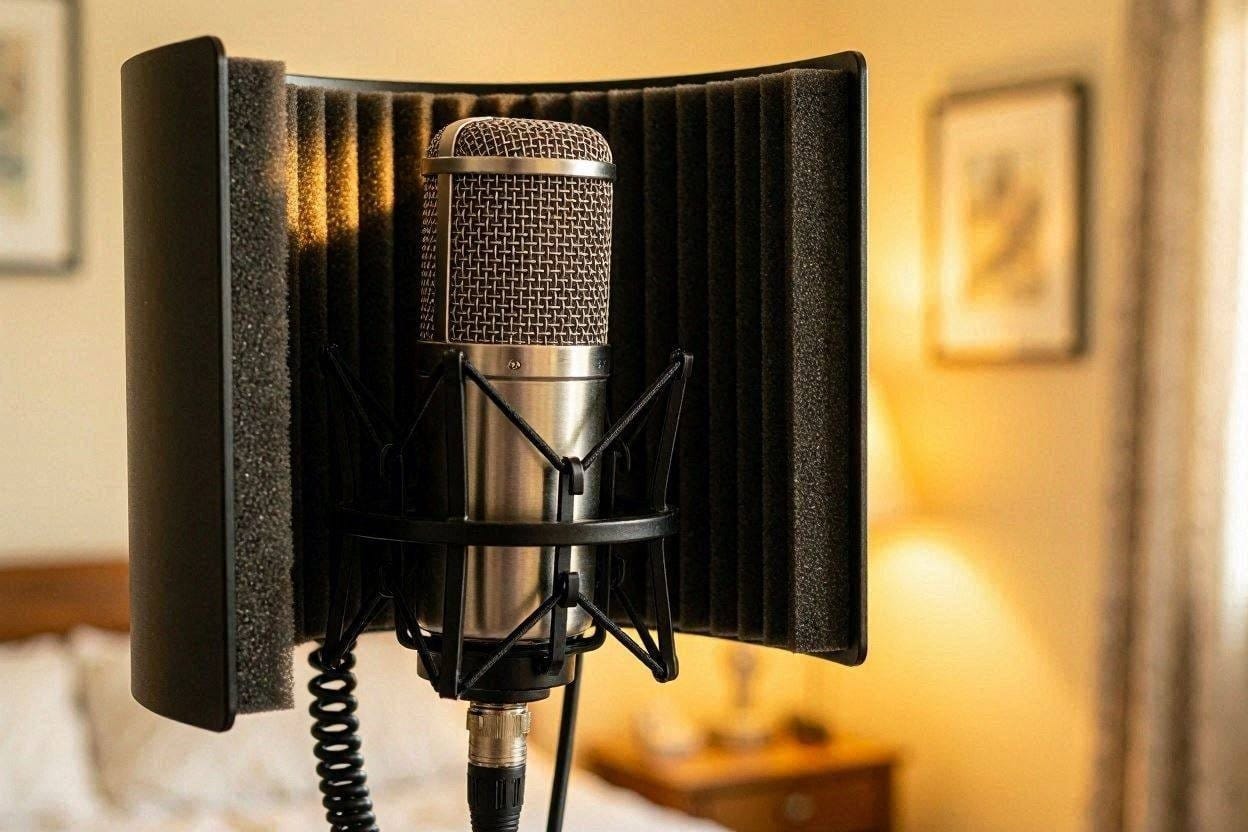
If treating the walls is too much of a hassle, you can shrink the scale of the project. Instead of treating the whole room, just treat the immediate area around the microphone.
A Microphone Isolation Shield is a curved piece of high-density acoustic foam encased in a metal or plastic shell that mounts directly to your mic stand. It wraps around the back and sides of the microphone. While it won’t stop a police siren from outside, it is incredibly effective at preventing your voice from bouncing around the room and finding its way back into the sides of the capsule.
If you are recording in an untreated bedroom, this shield is a lifesaver. It features high-density EVA foam that absorbs vocal reflections before they ever hit your room’s walls. It’s affordable, portable, and drastically improves vocal clarity.Check the current price on Amazon ➔
The Final Secret: Your Microphone Choice Matters
Even with weatherstripping, closet clothes, and isolation shields, an untreated bedroom is never going to be completely silent. If you are still picking up too much background noise, the problem might not be your room; it might be your microphone.
Most beginners buy large-diaphragm condenser microphones (like the AT2020) because they look professional. The problem? Condensers are hyper-sensitive. They will pick up a dog barking three houses down.
If you are on a budget in a bad-sounding room, you should be using a dynamic microphone. Dynamic mics (like the legendary Shure SM58 or the Samson Q2U) are far less sensitive. They only pick up sound that is right in front of them, naturally rejecting the background noise and room echo that plagues home studios.
Summary of the Ultimate Budget Vocal Setup:
- Spend $15 on weatherstripping and a door sweep to block air gaps.
- Record in your closet, or hang heavy moving blankets behind the microphone.
- Use a dynamic microphone instead of a hyper-sensitive condenser.
- Add a microphone isolation shield if you still hear room echo.
You do not need to go broke to sound like a pro. Control the air gaps, deaden the reflections, and let your voice do the rest!

Ememobong is the lead researcher and editor at Quiet Dwelling. As a professional technical writer, he specializes in breaking down complex acoustic engineering concepts into simple, actionable steps. His goal is to help people build distraction-free environments for better sleep and deep work.